Macro photography: correcting chromatic aberration
In this series I show how you can use a cheap close-up filter to take macro pictures. The previous post is a general introduction, and this post will show you how to fix chromatic aberration introduced by the filter.
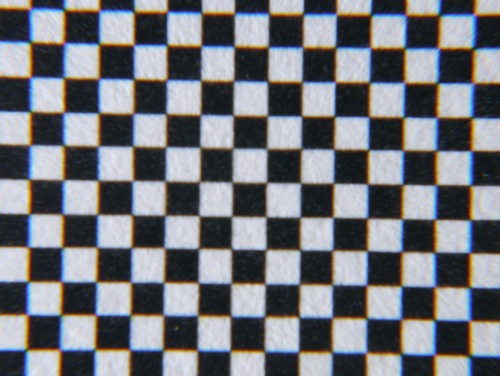
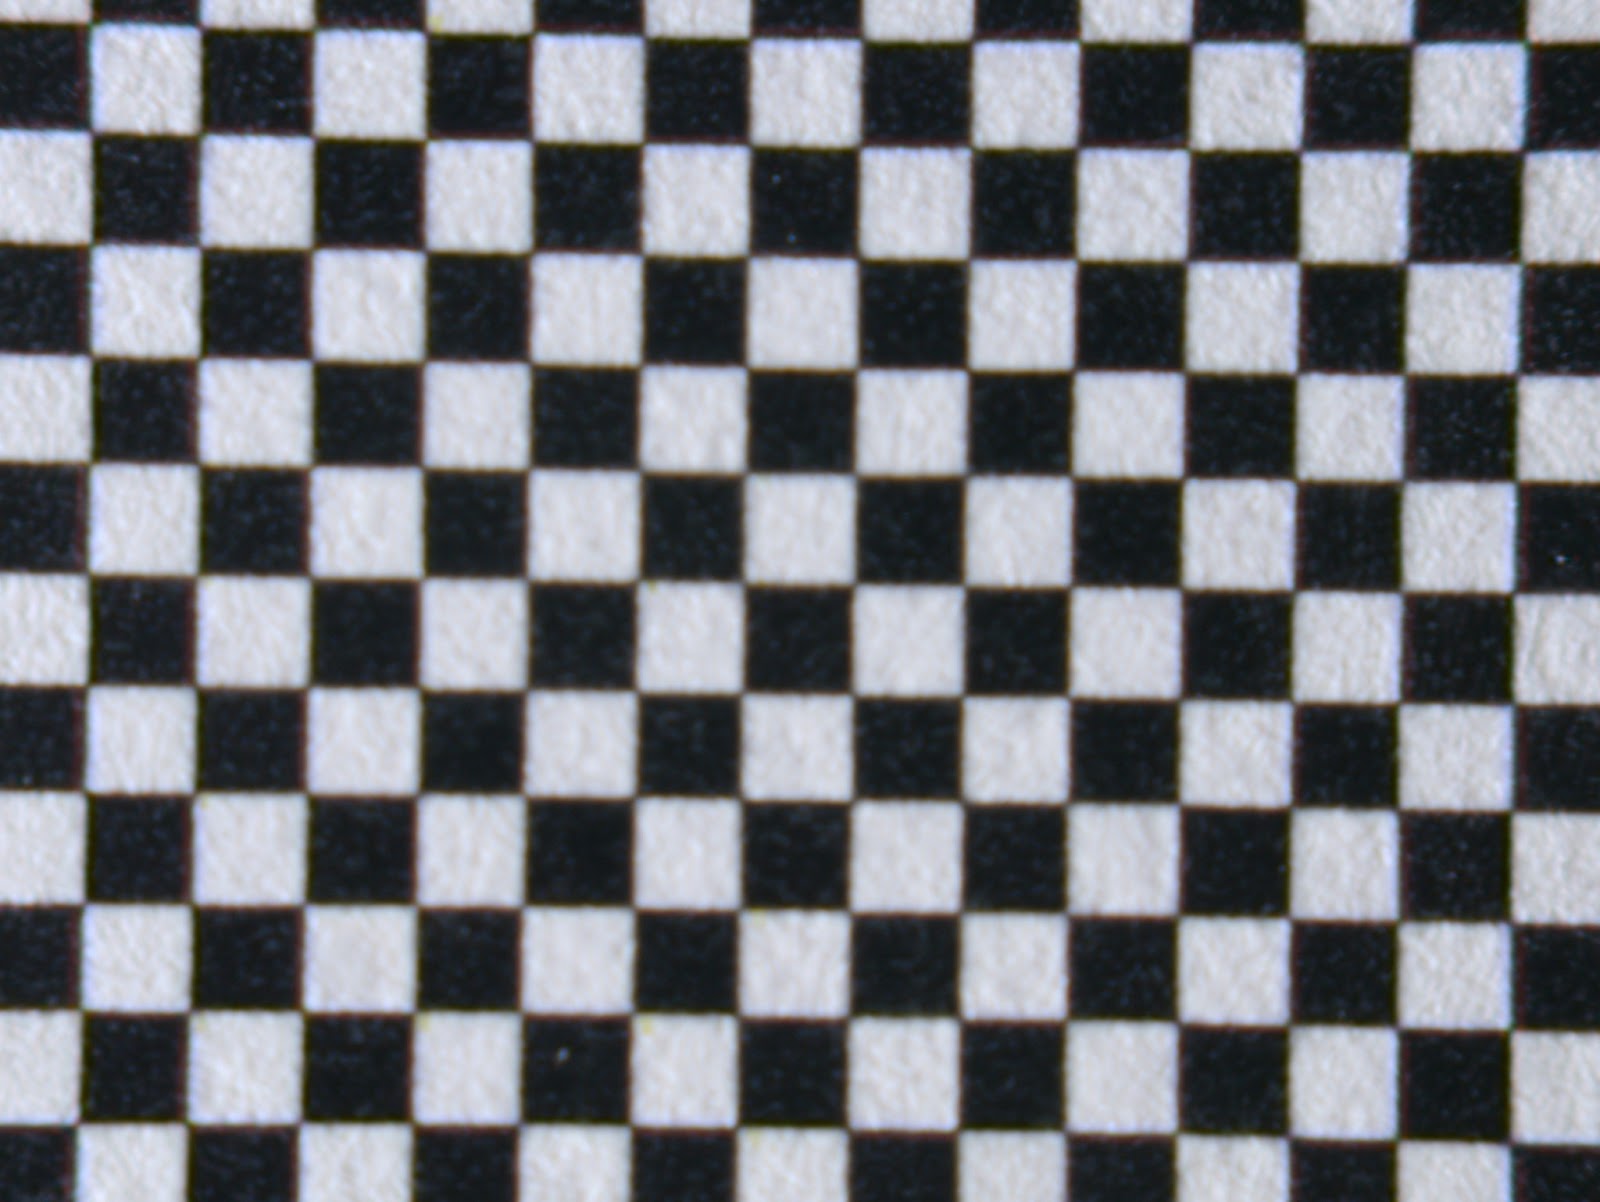
As shown in the previous post, the cheap 8x close-up filter introduces a lot of chromatic aberration (CA), especially at high magnification (45-150mm lens at maximum focal length). This is obvious when taking a picture of a black and white checkered pattern.
Can we fix this? After all, the Micro 4/3 is known to fix lens distortion and CA in software. The idea is that Panasonic could manufacture optically inferior lenses, with fewer elements, hence cheaper/lighter, and fix some of the image imperfection in software. Since there is no viewfinder, the user would never notice these corrections.
Here, I’m pushing this to the limit: adding a very cheap close-up adapter, that introduces a lot of CA, and seeing how we can recover a decent-looking image.
What you will need here:
- hugin/panotools
- Ruby
- exiftool
- All these commands are easier to run on Linux. There are ways of doing similar stuff on Windows (cygwin?) and MacOS X, but I won’t go into that.
Test pattern
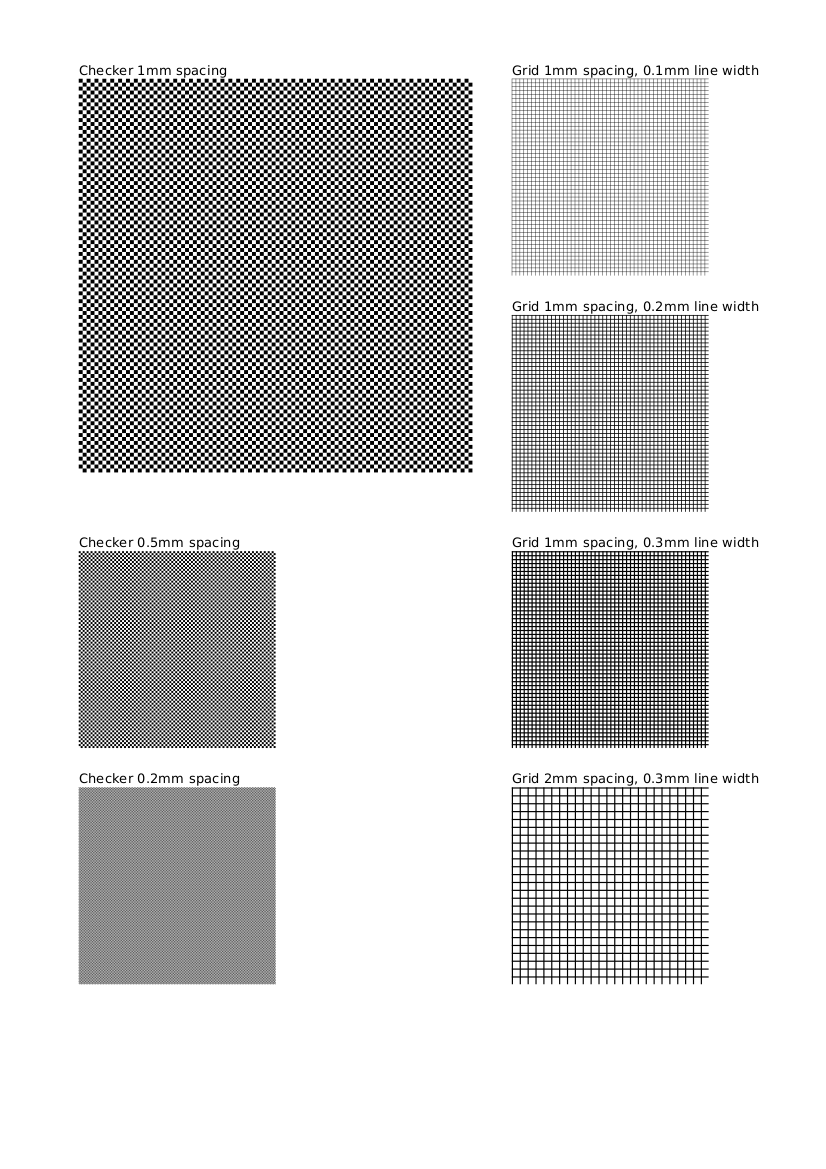
I couldn’t find a simple test pattern (read: a 2-minute Google search didn’t output anything good), so I decided to create one, with checker pattern of 1mm, 0.5mm, 0.2mm, and various grid patterns.
I use some Ruby code to generate a SVG file, that can then easily be converted to pdf. The source code to generate the pattern is available on github, and you can download the calibration pattern pdf.

Parameter detection
To detect the chromatic aberration parameters, we are going to use tca_convert, which is part of the hugin/panotools package. Running this command on the picture shown above:
$ tca_correct -o abcv image.jpg
outputs something like:
-r -0.0025220:0.0097571:-0.0102529:0.9939710 -b -0.0086956:0.0221789:-0.0163386:1.0116266
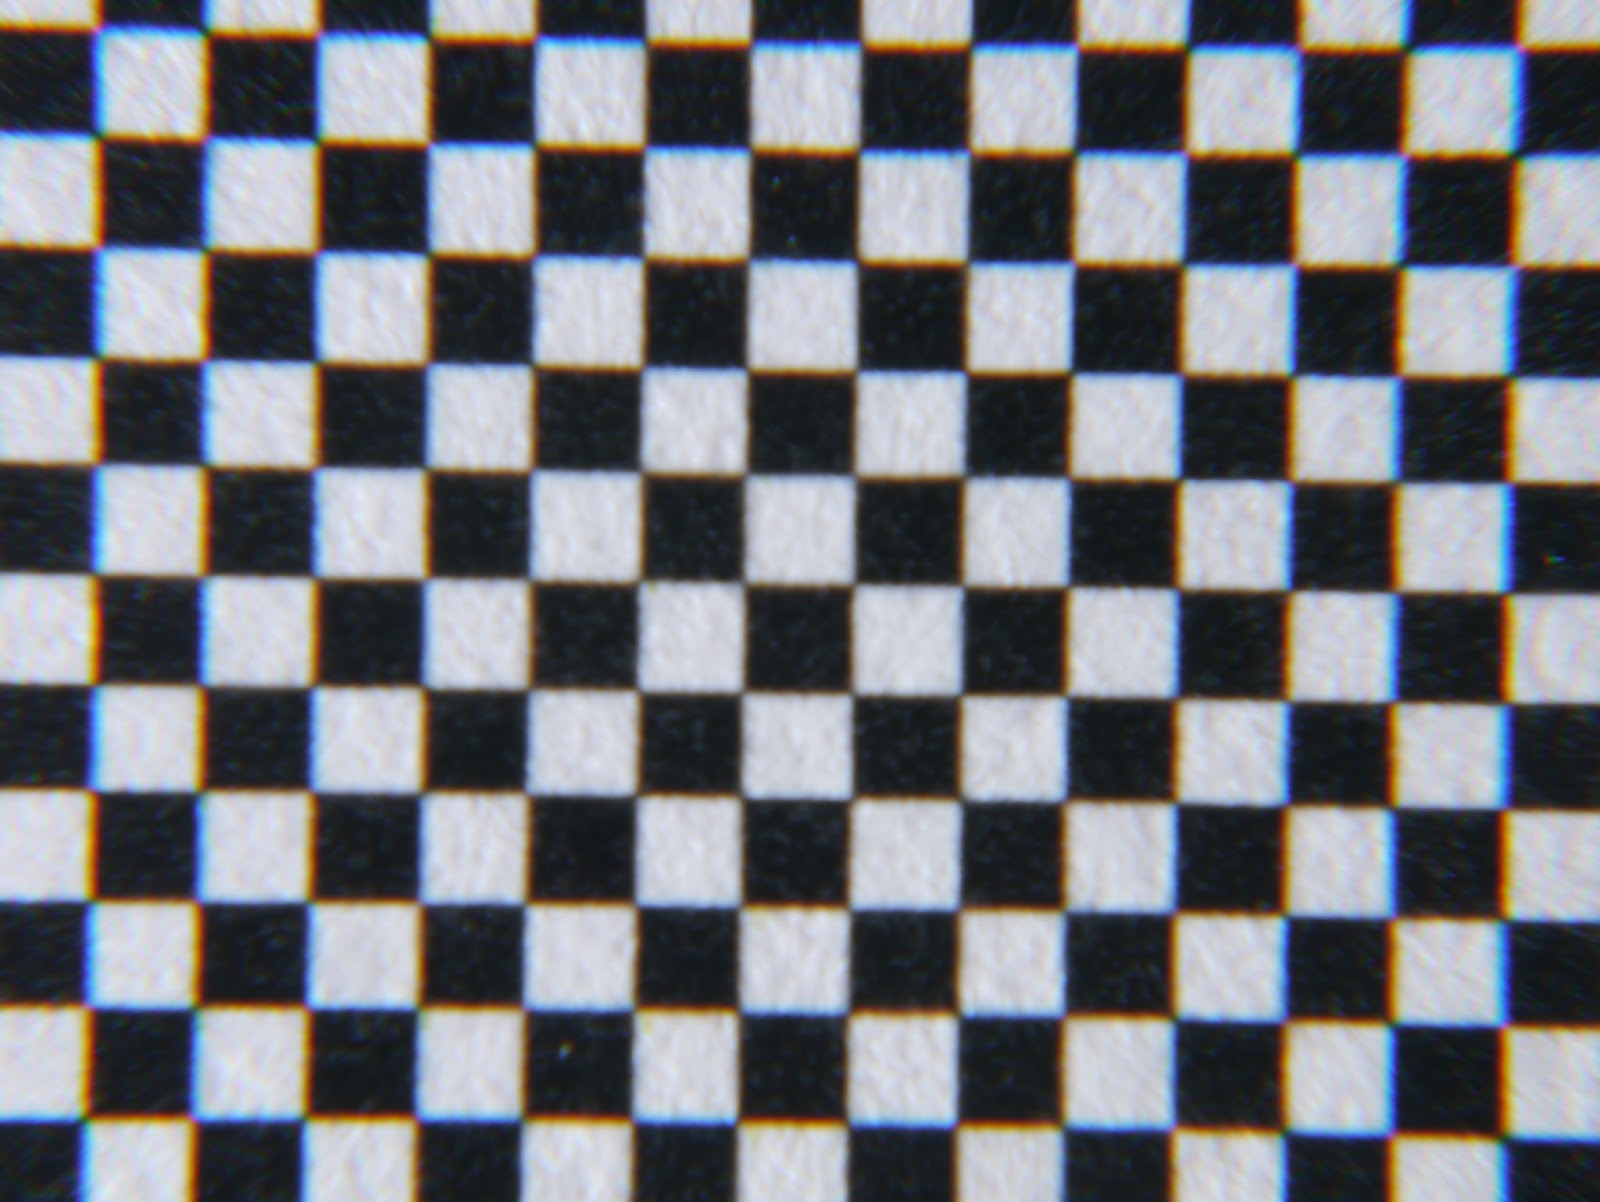
That gives you radial distortion coefficient for the red and blue channels, which you can pass as parameters to fulla:
$ fulla -r -0.0025220:0.0097571:-0.0102529:0.9939710 -b -0.0086956:0.0221789:-0.0163386:1.0116266 image.jpg
which creates a new file, image_corr.jpg:
You can stop here if you think those parameters are correct. In my case, I decided to go a bit further, and averaged detected parameters over a number of pictures of the test patterns.
Averaging
Instead of relying a a single picture to compute parameters, I use a series of 12 different pictures of my test pattern. I compute the parameters for all the images in a batch:
$ ls *.JPG | xargs -I{} tca_correct -o abcv {} | tee params.log
As you can see in the following box plot, there is some variability in the parameters, and some clear outliers. For each of the parameters, I chose to use the median of the 12 estimates (the median is less sensitive to outliers than the mean).
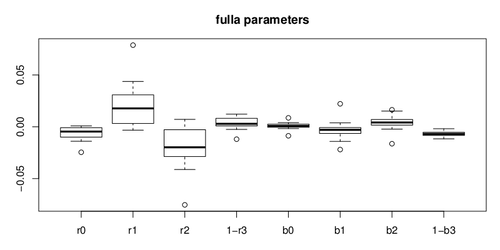
I then use a Ruby script to compute the median:
$ ruby parse.rb
In my case, the final parameters are:
$ fulla -r -0.0046300:0.0177484:-0.0198170:0.9971389 -b 0.0007956:-0.0029477:0.0041624:1.0069115 image.jpg
You can download the code on github (as well as the R script to show the boxplot).
Batch correction of pictures
Finally, you can correct pictures in a batch, using a command such as:
$ ls *.JPG | xargs -I{} fulla -r -0.0046300:0.0177484:-0.0198170:0.9971389 -b 0.0007956:-0.0029477:0.0041624:1.0069115 {}
Unfortunately, fulla does not keep EXIF information, but you can recover it with this one-liner, making use of exiftool:
$ ls *_corr.JPG | ruby -ne 'm = $_.match(/(.*)_corr(.*)/); system "exiftool -all= -tagsfromfile #{m[1]}#{m[2]} -exif:all #{m[0]}"'
Sample pictures
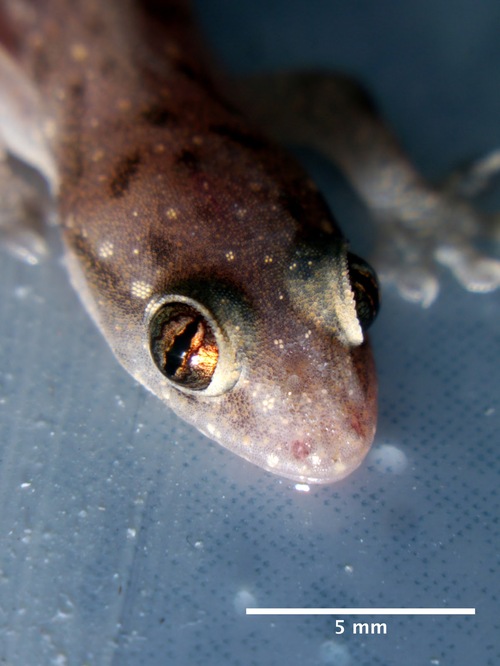
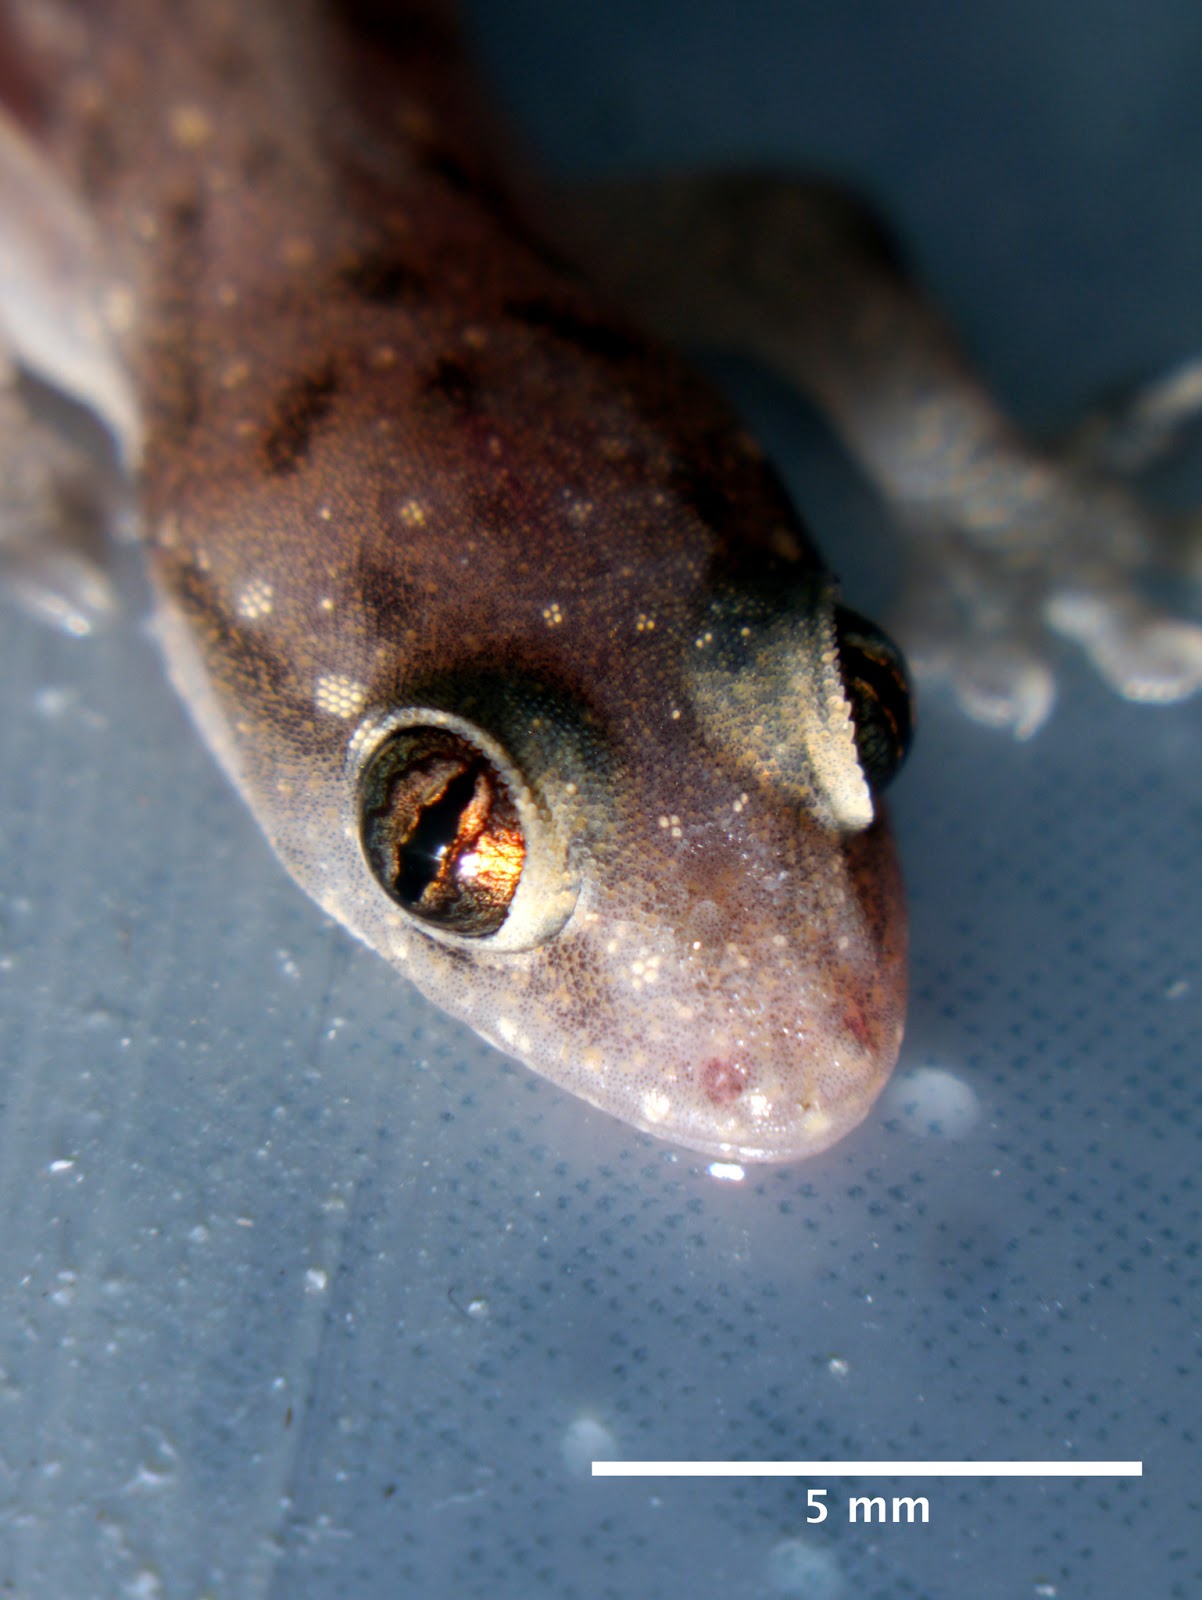
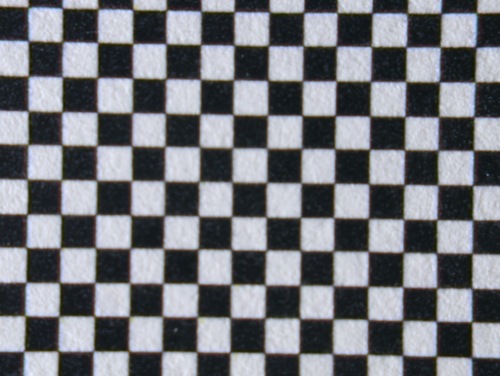
You can find a set of sample pictures here. The pictures are taken at f/22, 150mm, ISO 160, and chromatic aberration corrected, unless otherwise noted.
Imported from “Random ideas of a drinking cat” blog.