Macro photography on the cheap
In this series I will show how you can use a cheap close-up filter to take macro pictures. This post is a general introduction, and the next post will show you how to fix chromatic aberration introduced by the filter.
There are many ways of obtaining relatively large magnification with a camera. You can find out about many of these methods on the excellent Micro 4/3rds Photography blog: using a dedicated macro lens, extension rings, a reverser ring, or a close-up filter…
I’m not willing to spend more than 500$ for a dedicated macro lens, so I went the cheapest possible way: using a 8x close-up filter, that you can find for 8$ on dealextreme, and maybe cheaper on eBay. I went for the 8x filter instead of the 10x, because the latter has bad reviews: the lens element protrudes at the back of the filter, and you risk scratching your lens when mounting the filter (Fredrik Gløckner talks about it in this post); it also seems to be optically inferior.
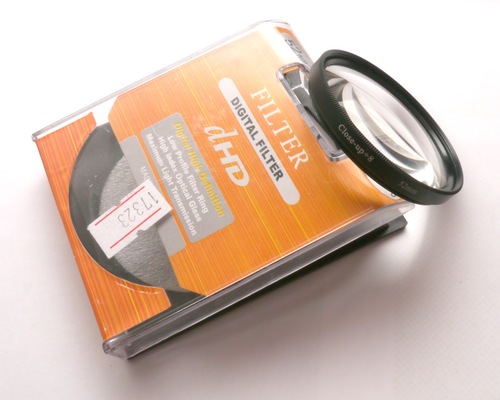

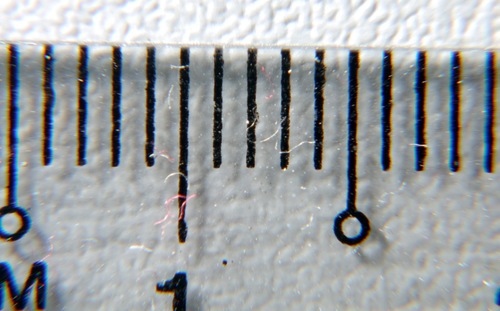
I tried the filter with 2 lenses: Panasonic 14-42mm, and 45-150mm. Both use a 52mm thread, so I could reuse the same filter. In each case, I use the camera in manual focus, set the focus to minimum distance, to obtain as much magnification as possible, and take a picture of a ruler.
Magnification
The magnification is defined as the ratio between the sensor size and the object size. On a Micro 4/3, the sensor size is 17.3mm, so if you can image 17.3mm of a ruler, you have a 1:1 magnification. If you get 8.15mm, you have a 2:1 magnification, etc.

The magnification you obtain with these combinations is listed in the table:
| Lens | Magnification with 8x filter |
Magnification without 8x filter |
| 14-42mm@14mm | 1:5 | 1:10.5 |
| 14-42mm@42mm | 1:2.5 | 1:5.3 |
| 45-150mm@45mm | 1:2.7 | 1:13.6 |
| 45-150mm@150mm | 1:0.87 (1.15x) | 1:5.7 |
Clearly, only the 45-150mm lens at the maximum focal length, with the 8x filter, can be considered a true “macro” configuration. The rest does not provide enough magnification:
Interestingly, the 45-150mm, without filter, is a very bad lens for close-up works: the minimum focus distance is 0.9m, and leading to worse magnification than the 14-42mm. On the other hand, the 8x close-up filter has a huge effect on this lens. Why? No precise idea, but it has something to do with the lens design.
Sample pictures
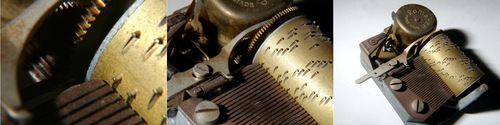
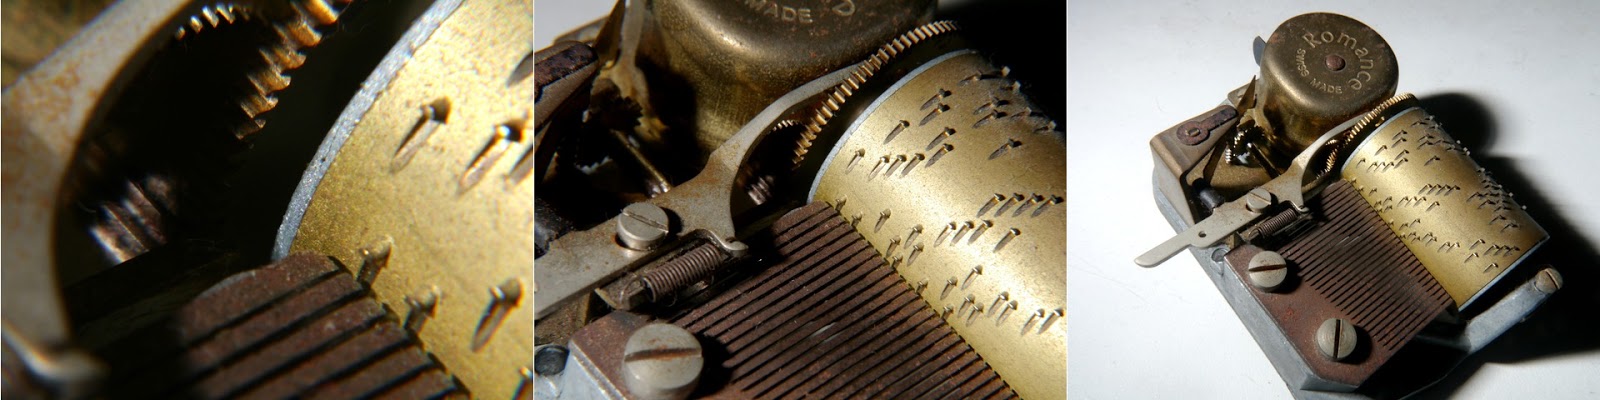
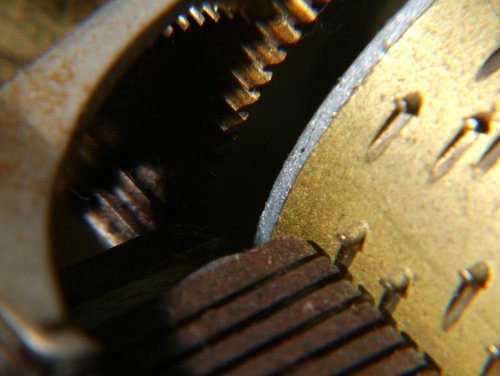
These sample pictures are taken with the 45-150mm lens, at 150mm, using a very small aperture (f/22), to get as much depth of field as possible. Sure, you will lose quite a bit a resolution due to diffraction, but I think this still gives best results, and makes focusing a little easier.
Macro photography needs external lighting, even on a sunny day you will not get enough light on the sensor. For this purpose, I use an external flash (an old Nikon SB-22), which I hold at a certain distance using a TTL flash extension cord. The flash is unfortunately not fully compatible with Panasonic cameras (no TTL mode), so it sometimes takes a few tries to get the correct amount of light on the scene.
Here is one sample picture:
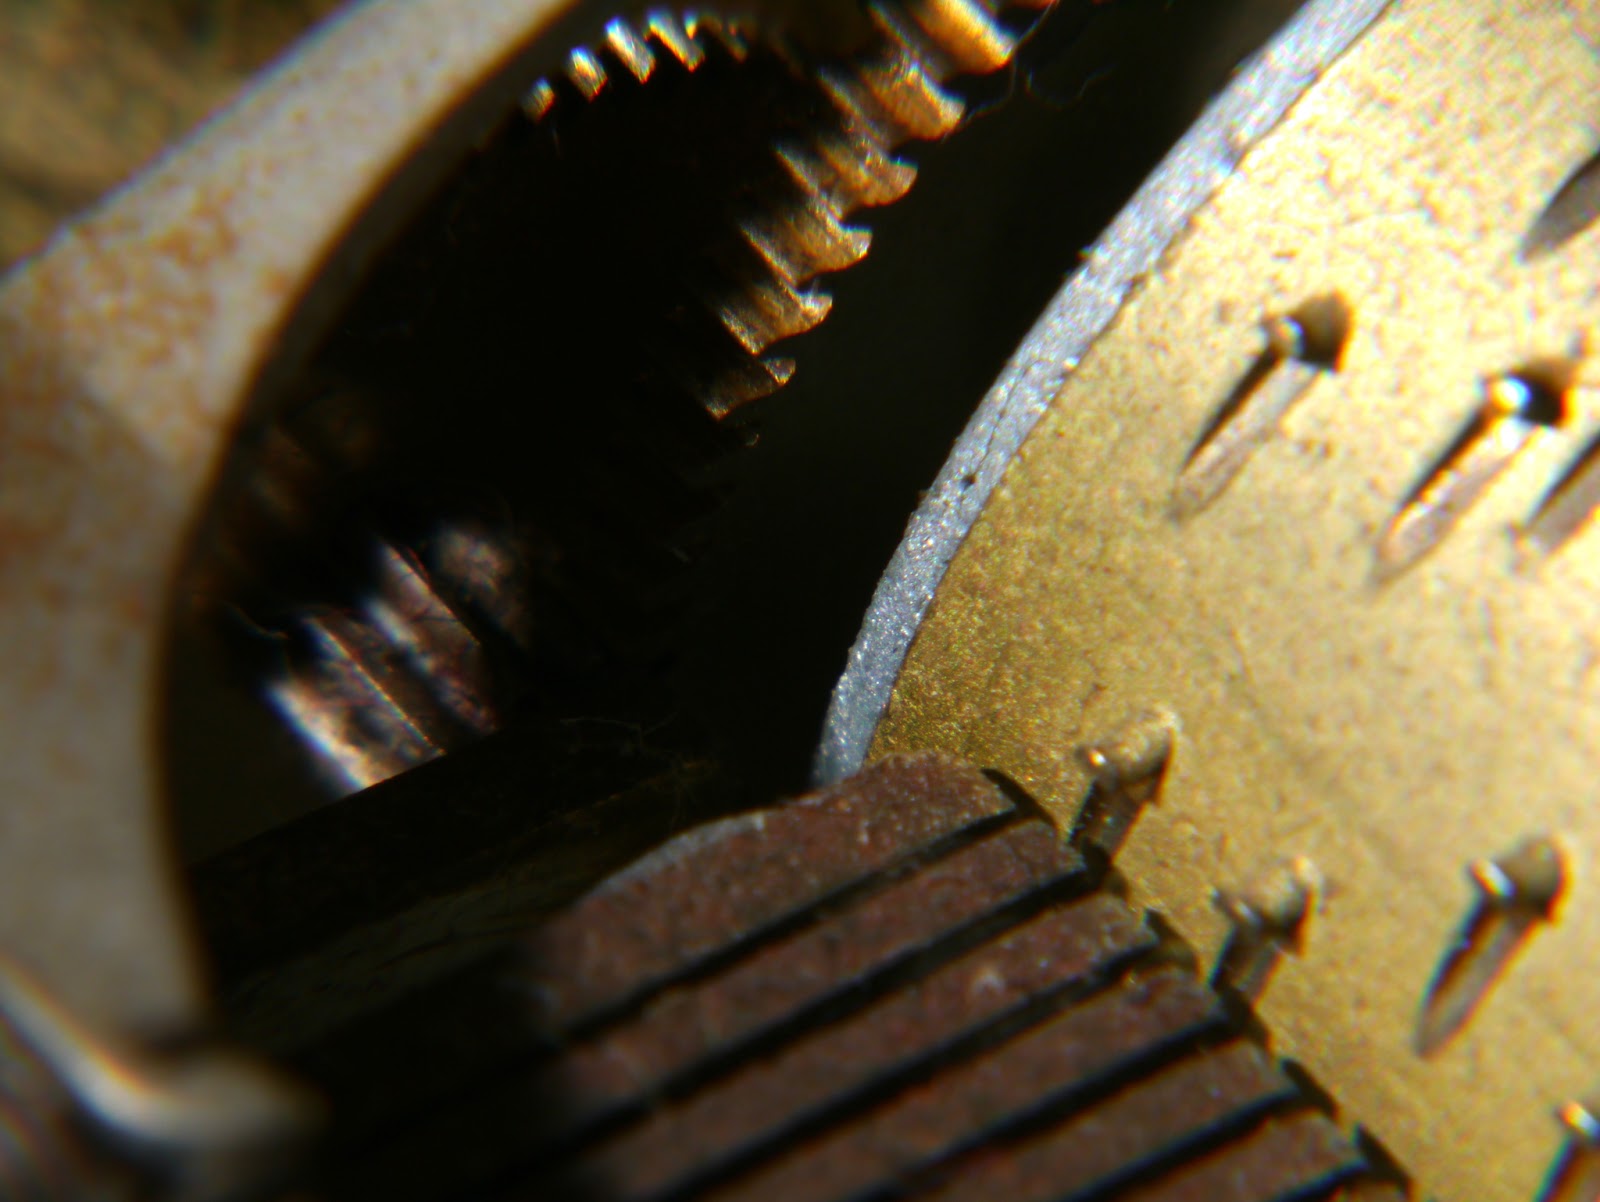
There is some obvious chromatic aberration (red and blue fringes) on the sides of the image. I will explain the method to correct chromatic aberration in the next post.
The effect of the correction is quite striking on a 100% crop:

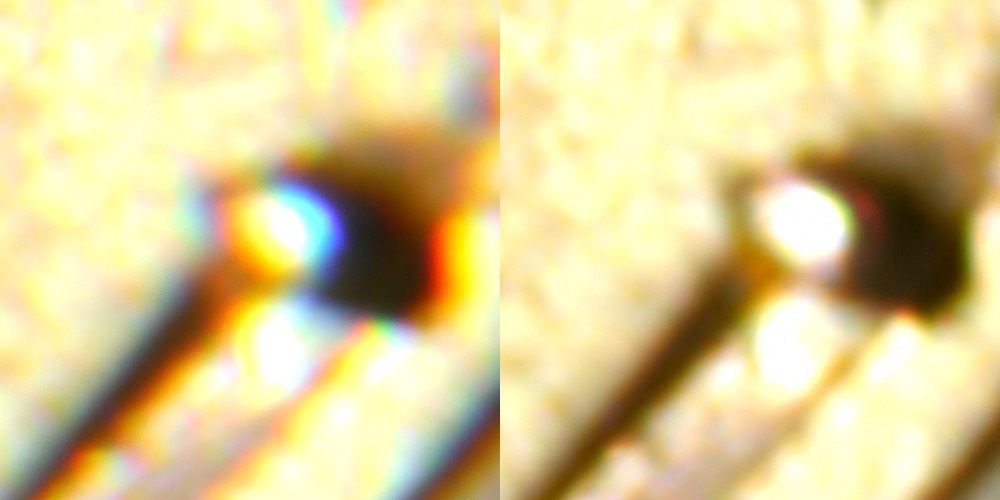
Even after correction, the image still looks fairly blurry, possibly due to diffraction.
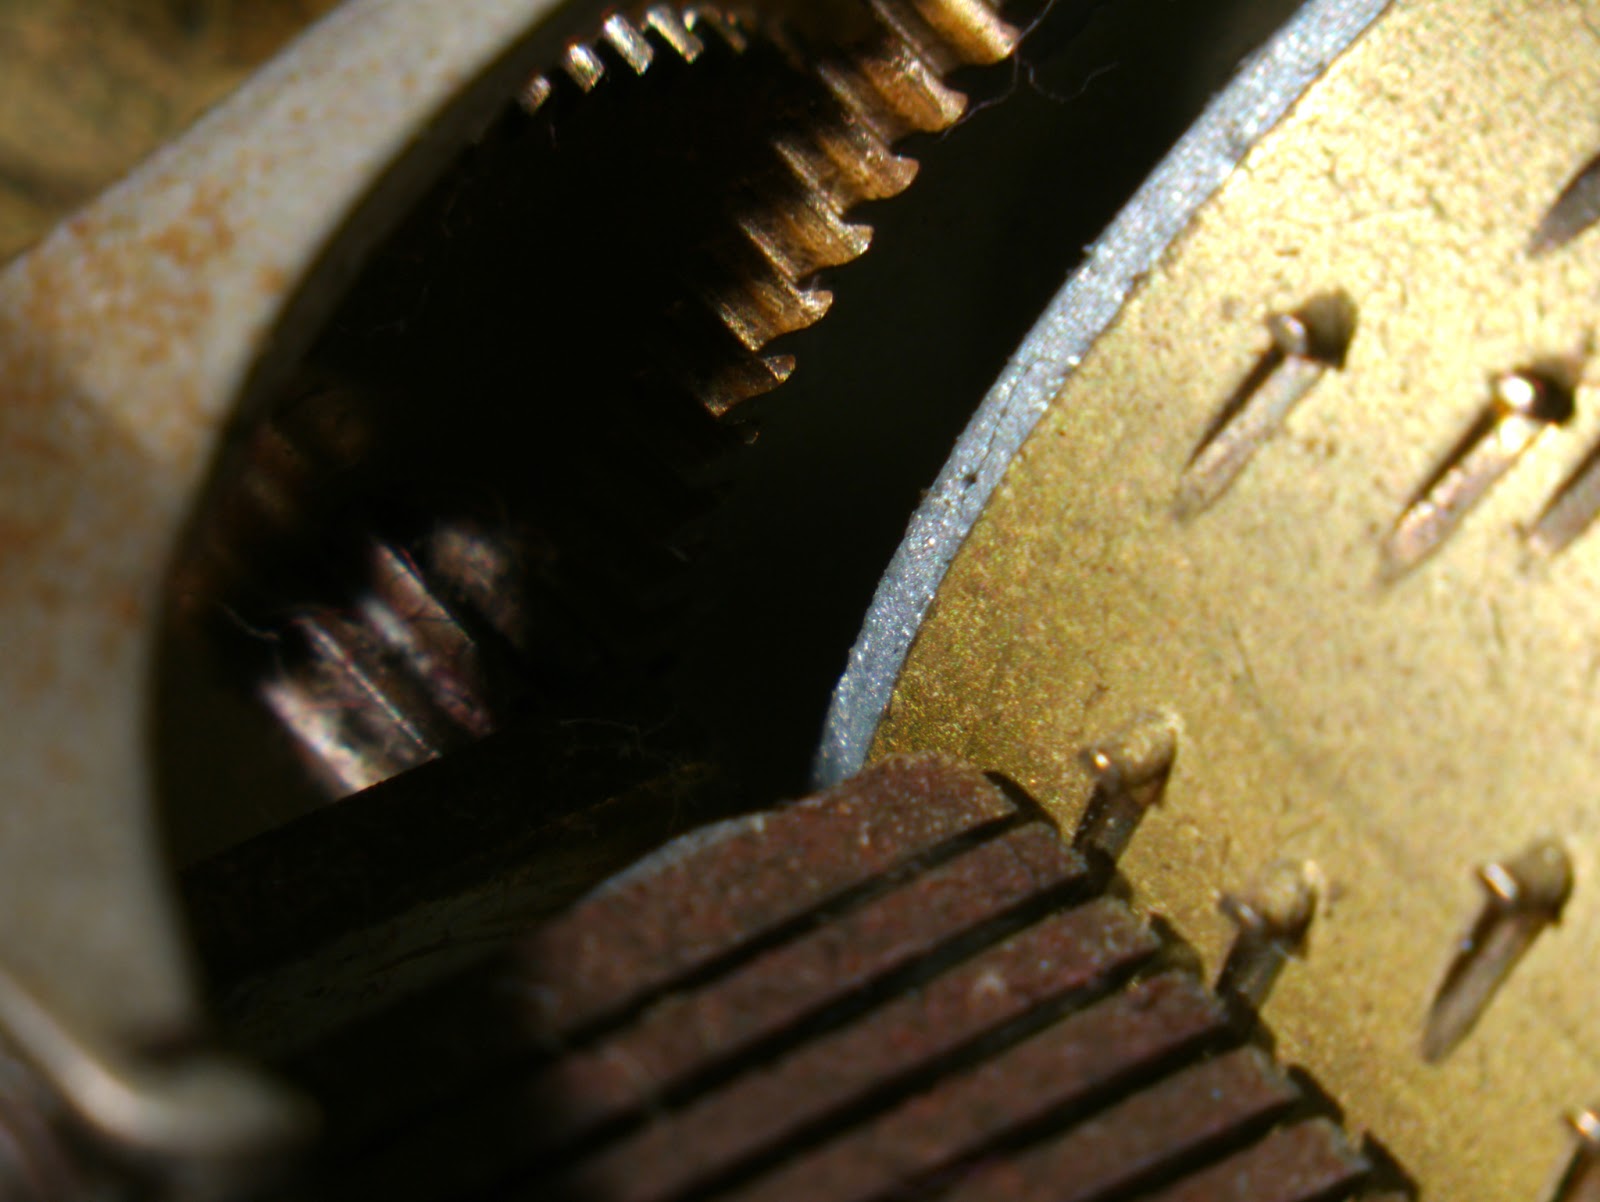
Finally, the corrected image looks very decent, especially considering the cost of the close-up filter.

You can find a set of sample pictures here. The pictures are taken at f/22, 150mm, ISO 160, and chromatic aberration corrected, unless otherwise noted.
Imported from “Random ideas of a drinking cat” blog.